GLS Parcel onboarding process
Dear customer,
Thank you for using the GLS ShipIT API. We are happy to have you on board. Please follow the steps below to get started.
Select the GLS division / country
The first step is to select the GLS country that will be used for shipping. This is the GLS country that you signed a transport agreement with.
Enter your GLS Parcel API credentials
The second step is the fill in the API credentials to create the connection with GLS.
The GLS ShipIT API consist of two connections:
API connection to the GLS ShipIT system.
The first connection is the API connection to the GLS ShipIT system. This connection is used for:
- creating parcel shipments
- generating shipping labels
- cancelling parcel shipments
- retreiving tracking events / status updated
This is the default connection and is used for eacht shipment. To obtain the usedId and password, please contact your GLS account representative.
API connection to the GLS Customs system.
In case you are also shipping to desinations outside the EU, a connection to the GLS customs API must be configured. The API credentials for the customs API can be obtained by following these steps:
note: the source of the steps mentioned below is GLS document "GLS Web Services for Customs Clearance v2.2.pdf" which was provided by GLS Belgium.
- Create your account
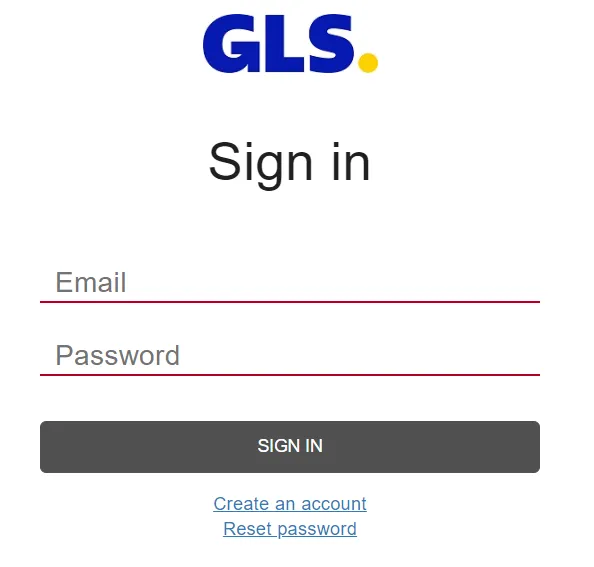
- Go to https://dev-portal.gls-group.net/ and click on
Sign in. - Fill in the required fields and click
Create Account.
Note: The country you enter during registration is very important: the app you register can only be used for customers shipping from this country.
You will receive an e-mail to verify your account. When you click the confirmation link, you’re brought back to the start page.
For more detailed information on how to create you’re account, you can click on the ‘Get Started’ panel.

- Create a team (optional) If you want to manage your apps with more than one person, you can create a team.
It is important to create the team before creating apps. It is currently not possible to reassign an app to a team once it has been created.
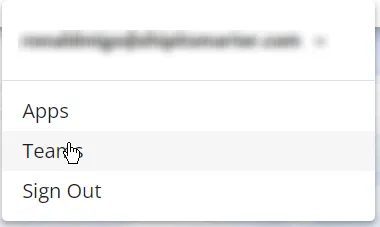
To create a team, click on your login name (e-mail) at the top right, select ‘Teams’ and follow the instructions.

- Register your app
Each app will be linked to your account in our financial system.
If you have more than one account number with GLS (a number in in the form 100xxxxxx), it is possible you also have more than one account in our financial system. When in doubt, send us a list of the account numbers you wish to use and we’ll verify if more than one app should be registered.Note: You can register more than one app with the same login and you can always add more apps later.
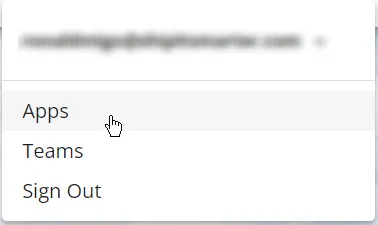
In your account menu, click Apps

Click Newapp
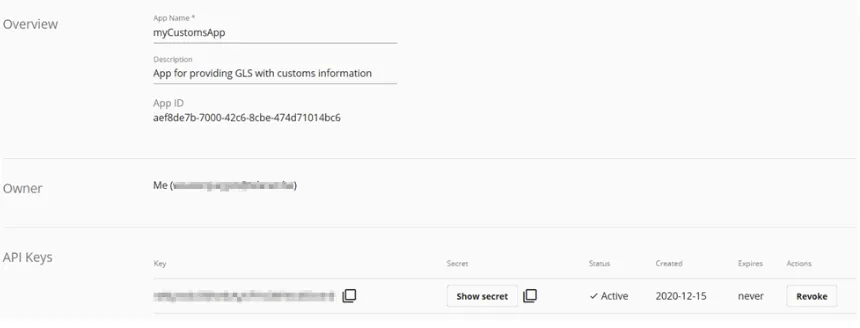
Fill in a App name and description and make sure to enable the Authentication API, Customs API (currently version v3) and the Customs Document Management API.
Click Save.
Once you’ve registered the app you get a key and a secret.

Enter this key and secret in the onboarding section of the GLS carrier setup in fields API Key for GLS customs API and API Secret for GLS customs API